Zoom & Focus · Example
Eye Zoom
Begin with a clear face close-up. Push steadily toward one eye until the iris fills the frame. Preserve the eyelids, iris color, and natural reflections. End on the eye without inventing a new scene.
Start with a face and finish with the detail inside one eye. An eye zoom narrows attention to the iris, reflections, and expression. Set a clear endpoint and use a clean portrait to plan the transition.
Sign in to generate
Movement example — choose a move to explore the shot.
Compare a push into one iris with a gentler close-up around both eyes. Notice the difference in pace and final framing.
Begin with a clear face close-up. Push steadily toward one eye until the iris fills the frame. Preserve the eyelids, iris color, and natural reflections. End on the eye without inventing a new scene.
A gradual portrait push-in finishes around both eyes. Compare this wider ending with the iris-filling example.
Build an eye zoom around a clear target, a controlled approach, and a readable iris close-up. Keep the eye as the destination throughout the move.
Choose which eye the camera should approach. A prompt that names the left or right eye, final iris framing, and steady direction is easier to interpret than a request to zoom everywhere. Keep the beginning and ending of the movement simple.
Open Workspace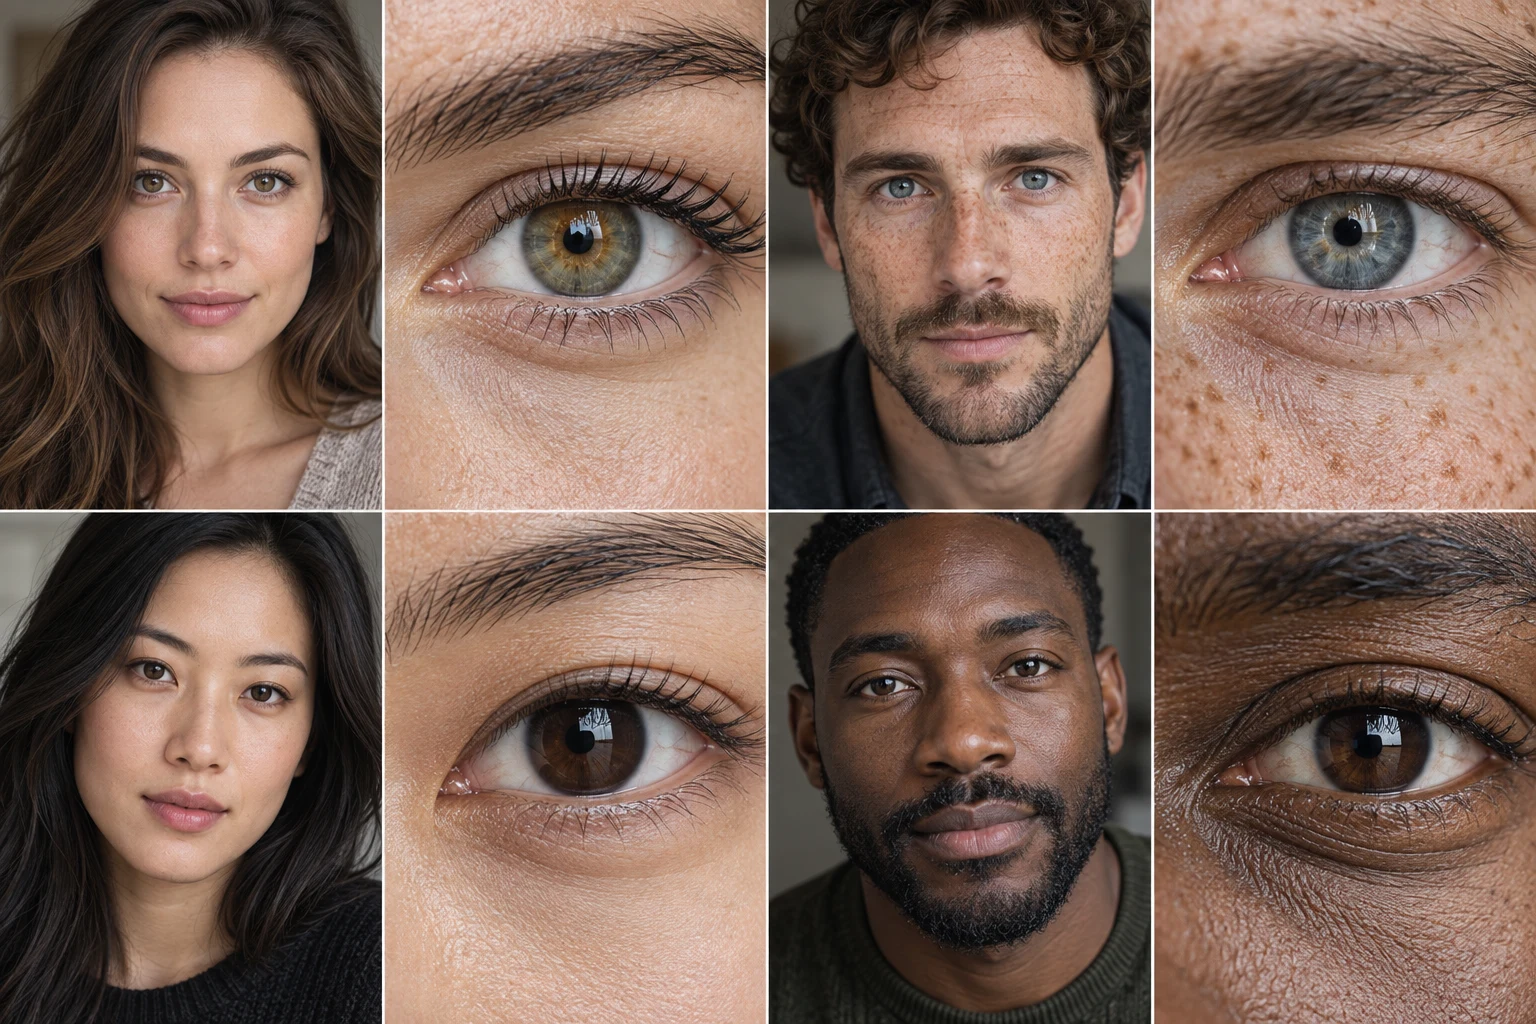
Think in three beats: establish the face, move toward one eye, and hold on the iris. This rhythm works for a dramatic reaction, a beauty concept, or a transition into a new chapter of a story. Watch the video reference to see how the framing changes throughout the move.
Open WorkspaceUse a high-resolution portrait with open, sharply focused eyes and unobstructed eyelids. Strong glare on glasses, tiny eyes in a full-body image, or extreme shadows leave less usable detail. AI can reinterpret iris texture; it cannot recover a documented macro photograph from missing pixels.
Open WorkspaceA move that ends on the iris is different from an imagined journey through the pupil. For a surreal transition, describe the destination scene and the point at which reality changes. Do not expect a simple eye close-up prompt to design that second scene automatically.
Open WorkspaceAI-generated framing illustration.
Plan a closer look at eye makeup or eyelashes. Inspect fine details in any generated result before using it in a campaign.
Move from a recognizable face into one eye to create a visual bridge between scenes. Plan the next shot separately.
Draw attention to the gaze in a character portrait. A stable opening helps the viewer follow the move into the eye.
Start with a clear camera direction. Copy the full prompt and adapt it to your image.
Push steadily toward one eye until the iris fills the frame. Preserve the eyelids, iris color, and reflections, then stop on a clear eye detail.
Start on a sharply focused close-up portrait with both eyes visible. Choose the eye on the left side of the frame as the target. Move steadily closer toward that eye without switching targets. Preserve the iris color, eyelid shape, eyelashes, and natural reflections. Gradually tighten the framing until the iris fills most of the image. Ease to a stop on a clear eye close-up and hold. Do not enter a new world, change the eye color, add a cut, or rotate the face.
Use left or right relative to the image, so the target is unambiguous.
Ask for one continuous move while preserving the eyelid, iris, and reflections.
Describe the final crop explicitly; avoid an unintended transition beyond the eye.
Frame a face zoom from one photo. Explore close-up timing, customize a camera prompt, and prepare a punchy portrait reveal with adjustable motion controls.
Compare dolly in and dolly out with video references, practical framing advice, and editable camera prompts for forward and backward movement.
Explore a whip pan shot with a local video example and editable motion prompt. Plan the direction, blur, and landing frame for a fast camera transition.
Choose a source image, refine the direction, and set the pace in the workspace.
Open WorkspaceA clear, front-facing or slightly angled close-up is the strongest starting point. Small or occluded eyes give less information for a detailed final frame.
Not necessarily. Generated movement can change fine texture, reflections, eyelashes, or eye shape. Review the close-up before using it in identity-sensitive or beauty work.
Choose one eye for an iris-filling endpoint. Keep both eyes in frame for an expressive close-up that stays closer to a face zoom.
The preview is a prerecorded eye zoom example that demonstrates the camera movement. Your uploaded image appears in the Source image tab; a completed generation appears separately in Generated video.