Aerial · Example
Drone Flyover
Fly smoothly over the scene at an elevated angle. Continue forward with an even pace and a steady horizon.
Plan an aerial camera move from a landscape or architectural image. Explore four drone shot AI directions, from a steady flyover to a rising reveal, and describe how the camera should travel through the setting.
Sign in to generate
Movement example — choose a move to explore the shot.
Explore flyovers, summit reveals, aerial tracking, and dynamic dives across coastal, mountain, desert, and canyon settings.
Fly smoothly over the scene at an elevated angle. Continue forward with an even pace and a steady horizon.
Rise and move forward to uncover the landscape beyond the foreground. Build from a restricted view into a broad aerial composition.
Circle the scene from an elevated position. Maintain a generous radius to show the subject within its surrounding landscape.
Dive forward and downward through the scene in a dynamic aerial move. Follow a clear path and keep the direction of travel readable.
An aerial approach follows a road through an open desert landscape. Compare the foreground speed with the distant horizon.
The camera moves away from a climber to reveal the surrounding peaks and valley.
Plan an aerial approach, a rising reveal, or a wide orbit. Use a clear landscape reference and give the camera one simple flight path to follow.
A flyover travels forward above a scene with a stable horizon. It suits broad landscapes, large buildings, and opening shots where orientation matters. Ask for a consistent height and pace when you want the scene to feel calm and readable.
Open Workspace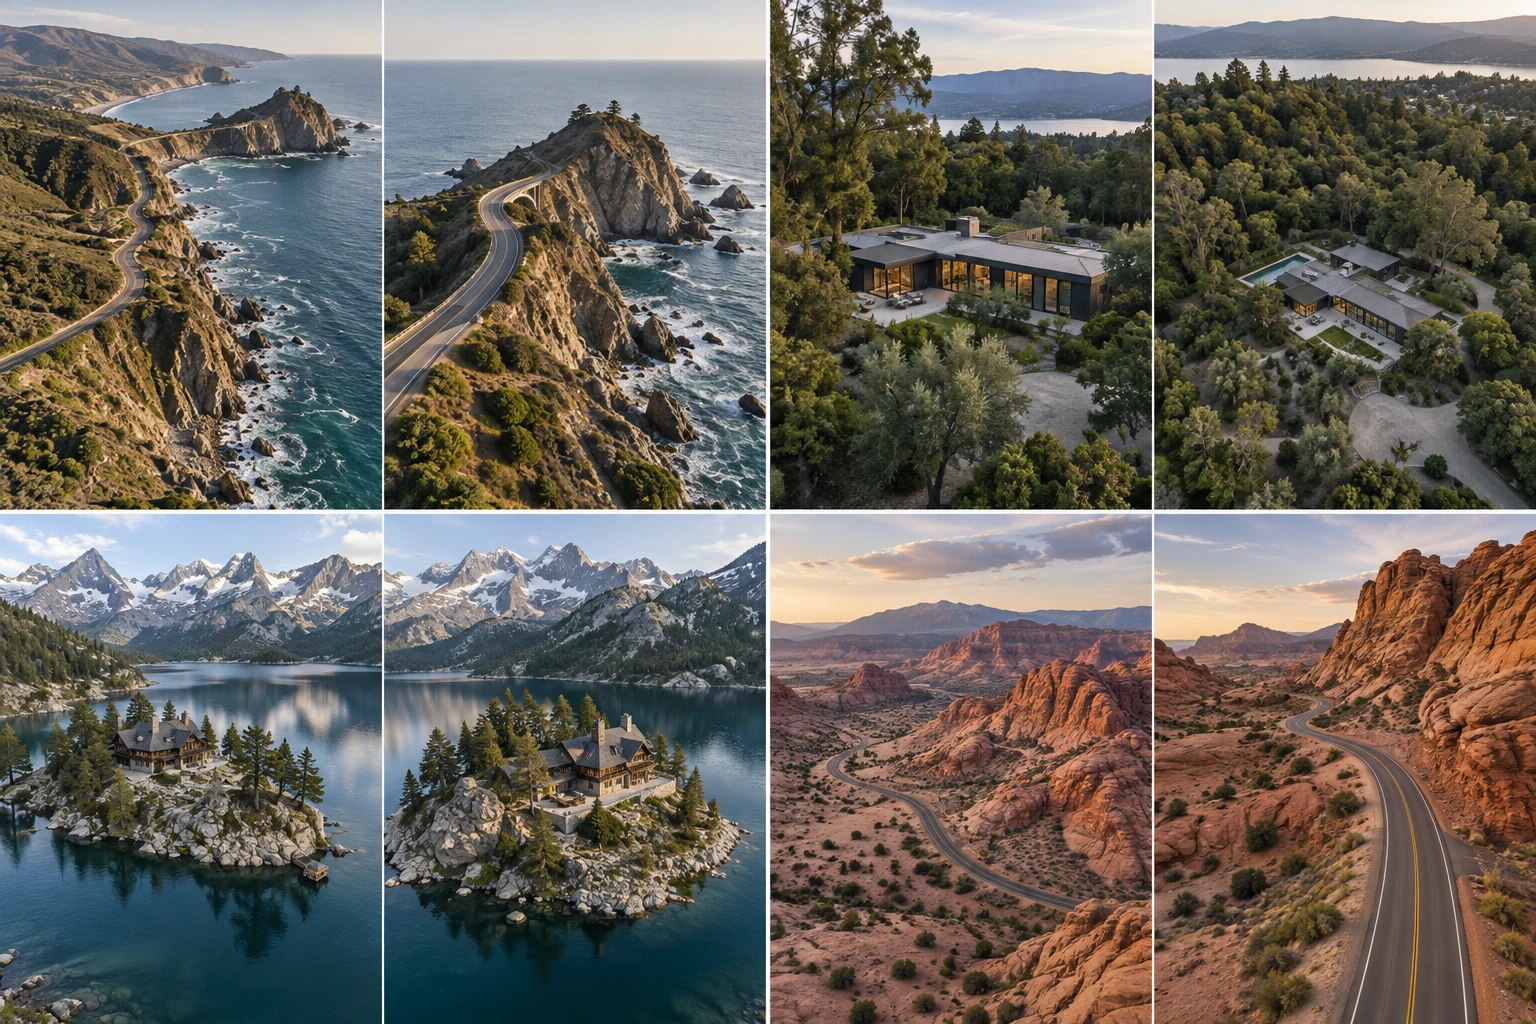
A reveal rises or advances past an obstruction to expose a wider view. A ridge, roofline, or tree line gives the shot a clear before and after. Describe both the foreground boundary and the destination so the movement has a reason.
Open WorkspaceAn elevated circling move shows a subject within its surroundings. An FPV dive moves down and forward with more urgency. Use the former to establish spatial context and the latter for an energetic approach along a clear path.
Open WorkspaceThe unseen surroundings are inferred from the source image. Generated building geometry, roads, and terrain can differ from the real site. Use these shots for creative concepts and review them before presenting property details; they do not replace accurate drone photography or mapping.
Open WorkspaceAI-generated framing illustration.
Use a smooth flyover to introduce terrain and scale. Keep a stable horizon and enough scene detail for the viewer to read the location.
Plan a rising reveal of a building or setting. Treat generated architecture as a concept and check it against the source before publishing.
Compare forward flight, pullback, and orbit references while planning a sequence. Keep each shot focused on a single movement.
Start with a clear camera direction. Copy the full prompt and adapt it to your image.
Fly smoothly forward above the landscape at a steady height. Keep the horizon level and the landmark in view, then slow into a stable wide shot.
Begin with an elevated wide view of the landscape. Fly the camera smoothly forward above the scene at a steady height and speed. Keep a slightly downward viewing angle, a level horizon, and consistent lighting. Let the ground pass naturally beneath the camera while keeping the main landmark in view. Gradually reveal more of the terrain ahead, then slow to a stable wide composition. Avoid sudden dives, roll, abrupt changes of direction, invented buildings, or obstacles passing through the camera.
Start with a landscape or elevated reference that shows the space around the subject.
Select forward flight, a rise, or an orbit instead of mixing all three in one shot.
Specify camera height, viewing direction, and a controlled stop for a readable result.
Compare dolly in and dolly out with video references, practical framing advice, and editable camera prompts for forward and backward movement.
Explore a whip pan shot with a local video example and editable motion prompt. Plan the direction, blur, and landing frame for a fast camera transition.
Frame a face zoom from one photo. Explore close-up timing, customize a camera prompt, and prepare a punchy portrait reveal with adjustable motion controls.
Choose a source image, refine the direction, and set the pace in the workspace.
Open WorkspaceThe workflow begins with a still image. An elevated source view can make the intended path easier to describe, but no physical drone is controlled by this page.
Use flyover for establishing a location, reveal for uncovering a view, an elevated circle for showing context around a subject, and FPV dive for a dynamic descent.
A single image does not document hidden geometry. Any newly revealed surfaces or surroundings may be invented, so check architectural details carefully.
Ask for a level horizon, one direction of travel, and a consistent pace. Avoid mixing a dive, a spin, and a zoom in the same brief instruction.