Set the Path, Frame by Frame
Place keyframes on the timeline and adjust azimuth, elevation, and camera distance. Preview the path to plan how the view should travel around your subject.
Explore Camera Controls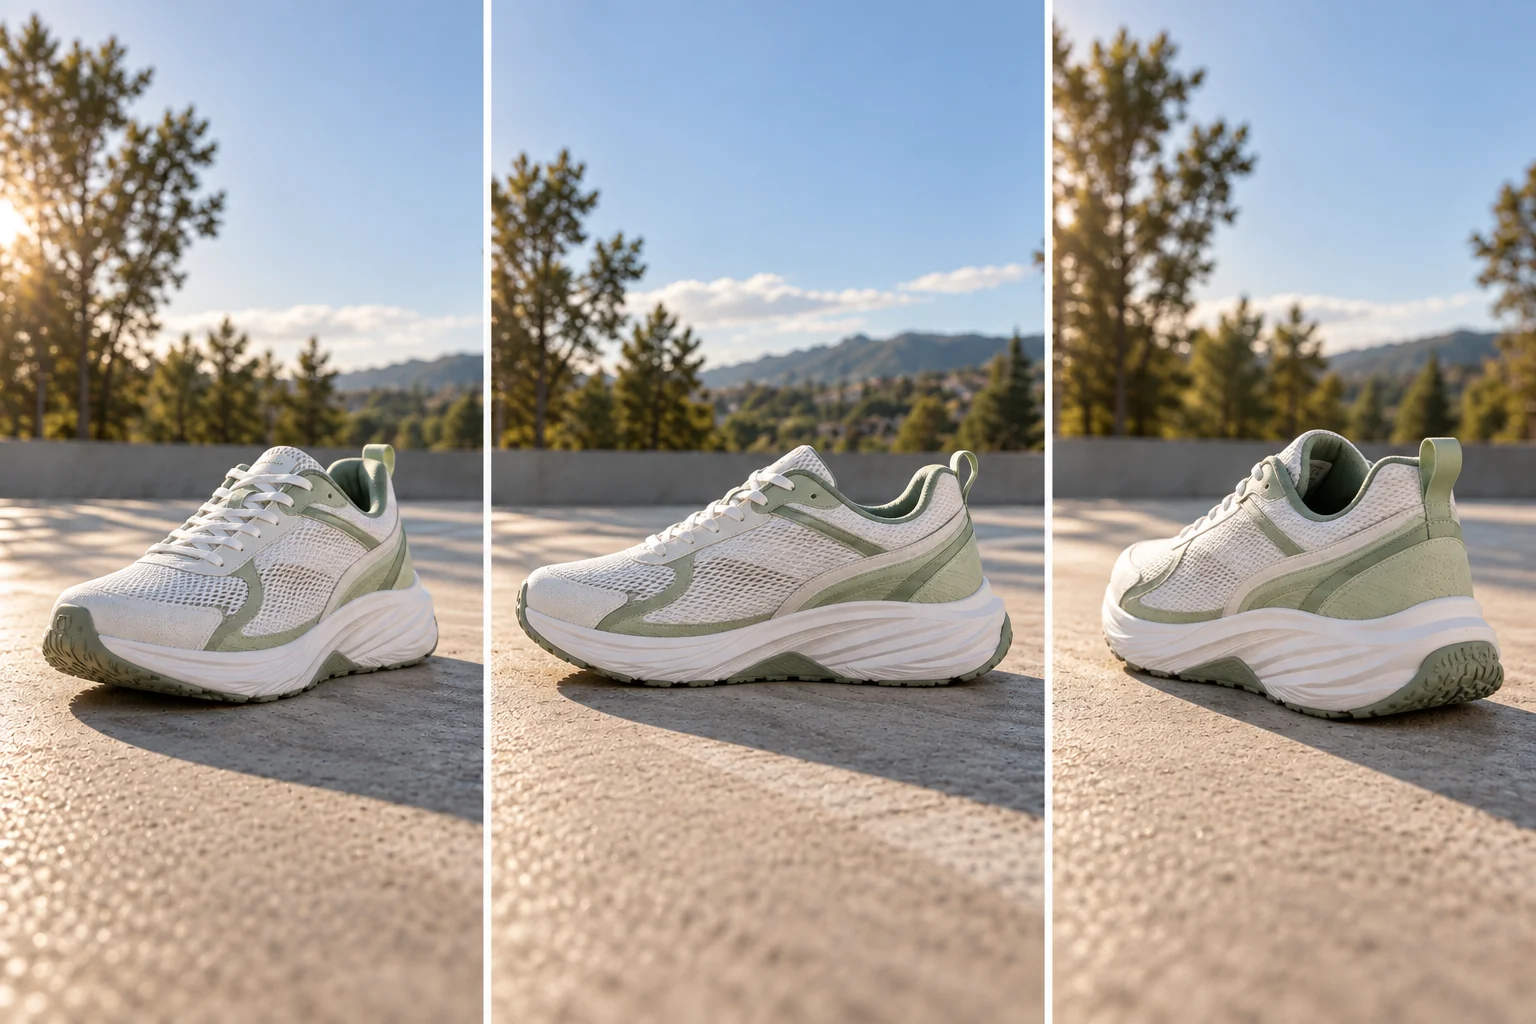
Plan camera control for video with a reference image and a path of your own. Adjust the angle, height, and distance across keyframes, then generate a new moving view.
Click, drop, or paste a first frame
JPEG, PNG or WebP · Up to 10 MB
Sign in to generate videos
Closing Orbit
Tighten the frame as you circle, pulling attention onto the subject.
Start with a motion preset or shape the path one keyframe at a time.
Place keyframes on the timeline and adjust azimuth, elevation, and camera distance. Preview the path to plan how the view should travel around your subject.
Explore Camera ControlsCompare the front quarter, side, and rear quarter of a car as you plan the camera path. Start with an orbit or swing preset, then refine the keyframes to decide which details each view should reveal.
Explore Camera Controls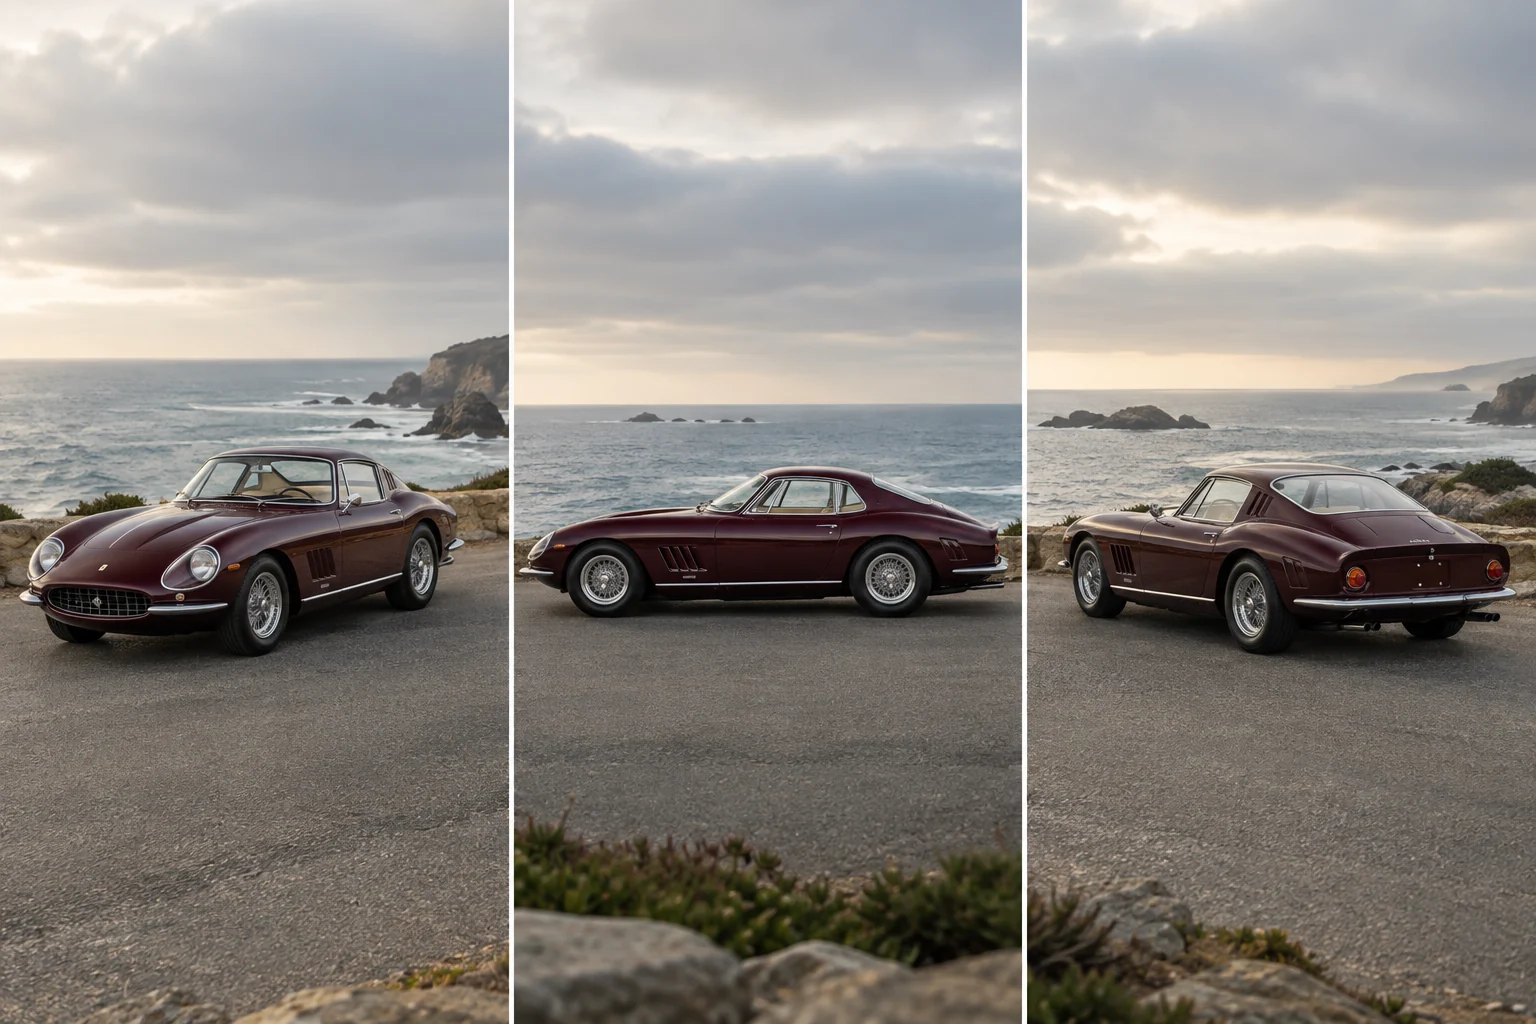
Use the start, midpoint, and end views to plan an approach through a corridor. Check how the arches and doorway grow in the frame, then refine camera distance and timing in the workspace.
Explore Camera Controls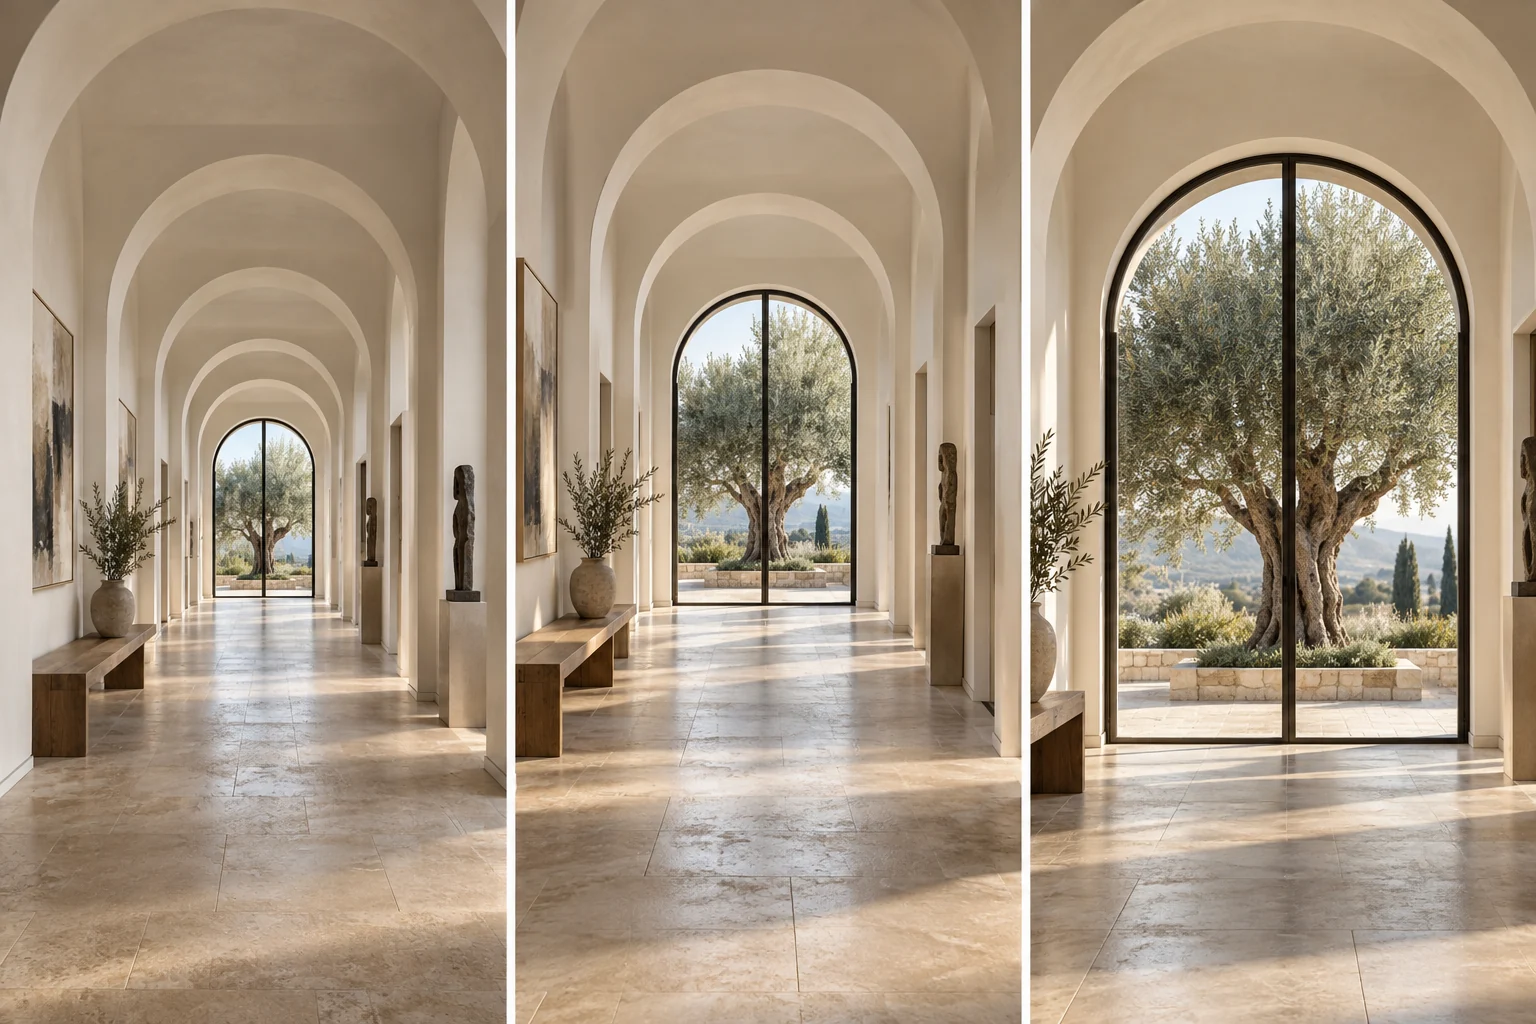
AI-generated camera-planning illustrations. These still images are not frames from a generated video.
Explore a moving view of a product photo for pitches, short-form concepts, and visual experiments. Review generated details before using the result.
Plan an approach to a building or an orbit around a scene. Use the clip to communicate a camera idea without treating it as an accurate survey.
Compare framing and motion before developing a storyboard. The path preview helps you reason about movement; the generated video shows the model's interpretation.
Upload a clear JPG, PNG, or WebP, or paste an image URL. Choose a subject with visible detail and enough surrounding space for the move you have in mind.
Choose a motion preset or edit the keyframes. Set the angle, elevation, and distance at each point, then play the path preview to check your plan.
Select the duration and resolution, sign in, and check the displayed credit cost. Generate the clip, review the movement and details, and download the result.
Bring an image, choose a path, and explore camera control for video.
Explore Camera ControlsIt is a way to guide AI video generation with a camera path. You provide an image and define changes in camera angle, elevation, and distance over time. The model generates a video based on that guidance.
Yes. You can add, remove, and adjust keyframes on the timeline. The workspace supports 2 to 9 keyframes, with controls for each keyframe's camera angle, elevation, and distance.
Presets include full and half orbits in both directions, a high orbit, closing and reveal orbits, spiral moves, and a swing. You can refine their keyframes rather than starting with an empty path.
No. The visualizer previews your planned camera trajectory. The generated video is the model's interpretation and may differ in motion, geometry, or subject detail.
The workspace offers 5, 8, 10, 12, or 15 seconds, with 480P or 768P output. The credit cost depends on the selected duration and resolution and is shown before generation.
This tool starts from a still image. It generates a new video using your reference and camera path; it does not reposition the camera inside an uploaded video.
Not necessarily. The model infers areas that are missing from the reference, so shapes, materials, or proportions can change. Check the output carefully, especially for products and architecture.
Generation requires sign-in and enough available credits. Check the current cost in the workspace before submitting. You can explore the motion controls and presets before generating.